
Why Proper Prep Makes a Paint Job Last Twice as Long
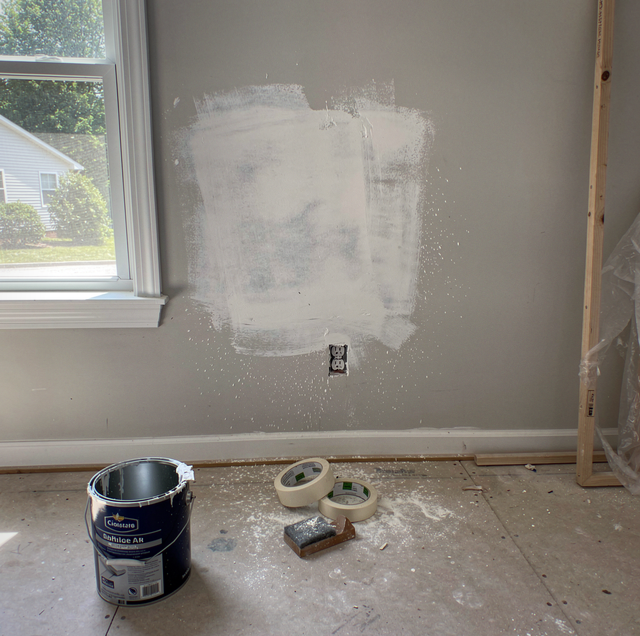
Ask most homeowners what makes a paint job last, and they will point to the can: a trusted brand, a couple of thick coats, maybe a premium finish that claims extra durability. All of that plays some part. None of it comes close to what happens to the surface in the hours before anyone opens a can. A premium coating rolled over a dusty, chalky, or damp surface will fail years before a modest paint applied over a properly cleaned, sanded, and primed one. Preparation, not the paint itself, is the biggest single variable in how long a paint job actually holds up, and understanding why requires looking at what paint does once it dries.
How Paint Actually Bonds To A Surface
Paint is not glue, and it is not a filler. It is a thin, flexible film that forms as liquid resin dries and cures, and that film needs something to grip onto. Two forces hold it in place: a mechanical bond, in which the drying resin flows into countless microscopic pits and fibers on the surface and locks itself in place, and a chemical bond, in which the resin reacts with a clean, receptive substrate.
Dust, grease, chalky residue from old paint, and a glossy sheen all block that process. A film cannot key into pores already filled with grime, and it cannot chemically bond to a slick or powdery layer on the real surface. Painting over any of those conditions is close to pressing tape onto a dusty window: it looks stuck for a moment, but there is no real hold underneath.
What Happens When A Coating Cannot Get A Grip
A weak bond does not always show up on day one. Paint can look flawless the week it goes on and still be sitting on a poor foundation, because the failure only becomes visible once the film gets stressed. Heat expands it, cold contracts it, humidity swells the substrate underneath, and every cycle tests the bond a little more.
Three outcomes account for most premature paint failure, and each one traces back to a specific gap in preparation: peeling, blistering, and fading that shows up years ahead of schedule. Seeing how each one develops makes clear why the steps that come before rolling a wall or a siding panel matter more than the roller itself.
Peeling Starts As A Bond That Never Formed
Peeling is mechanical separation. The paint film physically detaches from the surface beneath it, sometimes in small flakes and sometimes in long sheets. That happens when something sat between the paint and the substrate from the start: a layer of dirt, a film of old paint chalk, or a coat applied straight over glossy trim with no scuff-sanding to give it texture to grab.
Temperature swings are what cause a weak bond to become visible peeling. Paint expands and contracts with heat and cold, and a properly bonded film moves with the surface underneath it because the two are locked together. A poorly bonded film has nothing holding it down, so each expansion and contraction cycle loosens it, the same way a sticker with weak adhesive slowly curls at the corners every time a room warms and cools. Freeze-thaw cycles are especially hard on a marginal bond, since the repeated swelling and contracting of moisture in and around the substrate keeps flexing a film that never had a firm anchor.
Blistering Is Trapped Moisture Pushing Back
Blistering looks different from peeling but is caused by a related process. Instead of the film separating cleanly, it bubbles up in raised pockets, often appearing within weeks of a paint job rather than years. That pattern points to moisture trapped underneath the paint, either because the surface was damp when it was coated or because a moisture source behind it- a leak, poor drainage, or vapor migrating through a wall- keeps feeding water into that space.
Water vapor pushes with real force as it tries to escape through the only path available. If the paint film above it is intact, that vapor pressure has nowhere to go but up, lifting the coating into a dome until the bond gives way. Humid weather makes this worse because warm, moisture-laden air holds more water vapor to begin with, and painting over a surface that has not fully dried after rain, cleaning, or condensation sets the same failure in motion before the first coat has even cured.
Premature Fading Often Starts Underneath, Not On Top
Fading gets blamed on sun exposure and cheap paint, and both play a role, but uneven prep accelerates it in a way that is easy to miss. When paint goes on over patched drywall, bare wood, or old paint with varying porosity without a primer to even out absorption, it soaks into some spots faster than others. The result is a film that dries thinner and less uniform across the surface even though the same number of coats went on everywhere.
Thin paint breaks down under ultraviolet exposure faster than a properly built film, because there is simply less material standing between the sun and the pigment. Those thin patches chalk and fade first, often in a blotchy pattern that traces back to exactly where the surface was porous, patched, or unprimed. What looks like random color loss is frequently a map of where prep was incomplete.
Mildew And Moisture Undermine A Job Before It Starts
Painting over a surface with active mildew or unresolved dampness sets up an additional failure path. Mildew spores buried under a new coat keep growing, feeding on moisture and organic residue left in place, and they can push through the new film or continue eating at the surface underneath it. A coating applied without addressing the moisture source that fed that mildew in the first place is painting over a problem that is still active, not fixing it.
The same logic applies to any damp substrate, painted or bare. Paint needs the surface to be dry enough for its resin to cure properly. Coating over lingering moisture, whether from recent washing, condensation, or a leak that has not been traced and stopped, traps that water exactly where it can do the most damage: right at the bond line between old surface and new film.
The Steps That Change The Outcome
None of these failure modes are mysterious once you see the mechanism behind them, and each one maps to a specific step in proper preparation. Washing the surface removes the dirt, grease, and chalk that block adhesion. Scraping loose or failing paint and feathering the edges remove the flakes that were never going to hold, regardless of what went over them. Sanding levels patched repairs and dulls glossy areas so the new film has real texture to grip.
Filling gaps and cracks, then caulking the joints where materials meet, closes the openings that would otherwise let water track behind the new coat. Priming bare wood, patched drywall, stains, and any surface with mixed porosity evens out absorption so the topcoat cures to a consistent thickness across the whole area. Tracking down and correcting any active moisture source, from a slow leak to poor grading to a bathroom fan that vents nowhere, removes the fuel that mildew and blistering both depend on. Skip any one of those steps, and you have left a specific door open for one of the failure modes above to walk through.
Why More Coats Or Pricier Paint Cannot Buy Back Skipped Prep
It is tempting to think a better product or an extra coat can compensate for a rushed prep job, but thickness does not fix a bond problem. Two or three coats over a dirty or damp surface just means more film sitting on the same weak anchor, and more weight pulling at a bond that was never going to hold in the first place. A heavier film can actually fail sooner in some cases, since it has more mass working against a poor grip when temperature swings put it under stress.
Premium paint offers real advantages: greater resin flexibility, stronger resistance to ultraviolet degradation, and pigments that hold color longer. Every one of those advantages assumes the paint is bonded to a sound, clean, correctly primed surface. Put that same premium product over a poorly prepped one, and it typically fails on a similar timeline to a cheaper paint, because the weak link was never the paint chemistry to begin with.
How To Tell If A Past Job Skipped The Prep Work
A little detective work on an existing paint job often reveals whether prep was done right the first time. Peeling that comes off in long, continuous sheets rather than small chips usually points to a contaminated or unscuffed surface underneath, since a well-bonded film tends to fail in smaller, more localized spots if it fails at all. Blistering with no visible puncture or impact mark nearby is a strong signal of trapped moisture rather than physical damage.
Fading or chalking that is patchy rather than uniform, especially when it lines up with where drywall was patched or trim was replaced, points back to inconsistent priming rather than simple sun exposure. Recognizing these patterns before repainting matters, because painting over the same unresolved surface issues just resets the clock on the same failure.
A paint job that lasts as long as it should almost never comes down to luck or a lucky can of paint. It comes down to the unglamorous work that happens before color goes on: cleaning, scraping, sanding, filling, caulking, priming, and tracking down moisture before it becomes someone else's problem later. A crew that treats those steps as the real job, backed by a workmanship warranty and a free estimate to look at the surface honestly before quoting the work, is what turns a paint job that fails in a season into one that holds for years.
Frequently Asked Questions
Surface preparation matters more than the paint brand, the number of coats, or the color chosen. A properly cleaned, sanded, and primed surface gives paint a real bond to hold onto, while skipping any of those steps sets up peeling, blistering, or early fading regardless of how good the paint itself is.
Peeling occurs when the film never bonded to the underlying surface, usually due to dirt, chalky residue, or an unscuffed, glossy layer that blocked adhesion from the start. Temperature swings then flex that weak bond until it lets go, and no amount of paint quality can compensate for a surface the coating never actually gripped.
Blistering is caused by moisture trapped beneath the film, either from a damp surface at the time of painting or an ongoing water source behind it. As that trapped vapor tries to escape and finds the paint film in the way, it pushes the coating up into raised, bubble-like pockets, sometimes within weeks of the job.
Yes. Chalky residue sits on top of the real surface rather than bonding to it, so new paint applied over it grips the loose chalk instead of the substrate. That thin, powdery layer eventually gives way, taking the fresh coat with it, which is why washing and often sanding chalky surfaces before repainting is essential.
An unresolved moisture source keeps water from entering the space right behind the paint film, whether from a slow leak, poor drainage, or vapor migrating through the material. That trapped water pushes on the coating from underneath and feeds mildew growth, and painting over it without correcting the source usually leads to blistering or peeling within a short time.
Not if the surface underneath was not properly prepared first. Extra coats add thickness to whatever bond already exists, and thickness cannot correct a surface that is dirty, glossy, or damp. A single coat over a well-prepped surface typically outlasts several coats applied over one that was not cleaned, sanded, and primed correctly.
Schedule a paint job that starts with the surface, not the sprayer — get proper cleaning, sanding, and priming built into every job from the first coat on. Elite Edge Painting & Remodeling serves Parkville, Baltimore, and Towson. Call (443) 601-5233.
